At about 100 inches of sewing per bag, this adds up to roughly 1,000 feet of "mileage" on my little sewing machine. Good thing we bought those giant spools of thread!

We start with our printed sheet of fabric, which is a 18" x 47" size. This is a tad larger than the average backpack, since it was meant to fit the reception chairs, so if you want to make your own for non-chair use, I suggest making it a couple inches shorter in length.

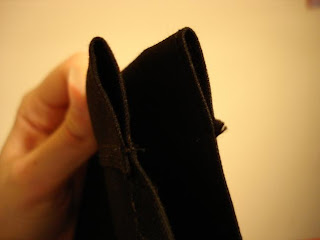
Next I sewed over the top edge and 3-4 inches down each side. I tried to make this fold as small as possible, since the only purpose it serves is to hide the raw edges.

Now, fold over the top about an inch, and crease the fabric. If your fabric isn't easily creased, use pins. Make sure the fold is as straight as possible. I used "Duck" fabric, which is an amazing canvas material that creases and sews very easily.

Sew the fold down, leaving plenty of space to shove the drawstrings through later. Repeat on the opposite end of the fabric.

Now when we fold our fabric in half, we should have two holes/tubes along the top edge to put our drawstrings in.

Depending on whether you want a straight bag or a round bag, this step could be skipped, but in our case we wanted to match the curvature of the chair, so we made a template to trace onto the folded fabric. (Note - this is all done with the reverse side of the fabric showing.)

We added our eyelets (which I'll cover in the last post of this series), and then sewed around the edges to seal our bag.

Finally, we cut off the unnecessary fabric (in this case, our corners).

Here we go!

And turning the whole thing inside out..

Sewing complete! Last step to come is the drawstring attachment!
Anyone else breaking out the sewing machine for their wedding?


WOW!! You are super-talented! I love how the bags came out. I definitely broke out the sewing machine for my wedding too but all I made was a simple pillow. I was thinking of making totes for the bridesmaids, but I don't know if I can pull it off. I guess I won't know unless I try so I will give it a shot after seeing how great your bags turned out. Thanks for the tutorial. I love it!
ReplyDeletei still cannot believe you guys took this project on--you guys are amazing! and they look great.
ReplyDeleteWow that is impressive!!
ReplyDeleteThanks for your support, everyone! I cannot wait to finally be finissshheeeddd >.>"
ReplyDeleteand @Bee - definitely do make those totes! I love bags! (just not in large quantities..:P)
Oh wow! I am speechless! This must be the most intricate DIY project I have seen! So talented!
ReplyDelete